How to Build a Home Sauna in Australia: A Step-by-Step Guide
Build Your Own DIY Home Sauna With Expert Guidance Every Step of the Way
Are you looking for your next weekend project?
Perfect for builders or DIY enthusiasts who want a custom-built DIY sauna project with expert advice.

Why Build a Sauna at Home?
You’ve landed here, so I doubt you need much convincing on why saunas are awesome.
But we can’t help ourselves... here are some of our favourite wellness benefits (and the science behind them).
Our DIY Home Sauna Offerings
DIY Custom Consultation
Personalised advice from sauna professionals, tailored to your space and style.
DIY Sauna Material Kit
Premium-grade sauna building materials and accessories, delivered across Victoria.
Flat-Pack DIY Sauna Kits
The easiest way to build a sauna in a weekend: pre-fabricated and ready to assemble.
What You Need to Get Started on Your Home Sauna Build
Before you start your DIY sauna project, make sure you’re prepared:
⚡️ Don't forget electrical:
Forgetting electrical work, ventilation planning, and safety allowance for heaters is the fastest way to derail a project.
Common Mistakes in Choosing Materials
🌟 Quality matters:
Cutting corners on building materials leads to disappointment. A good sauna starts with high quality saunas-grade timber, heaters, and accessories.
Choosing the Right Materials For Your DIY Sauna Build
A good sauna is built from the inside out, with materials chosen to handle heat, moisture, and daily use.
We’ve built saunas for some of Australia’s most respected names in wellness, including the Grand Hyatt, Sense of Self, Comma Richmond, and Wellness Social Co.
The same knowledge and materials go into every home sauna project we supply.
Here’s what we recommend:
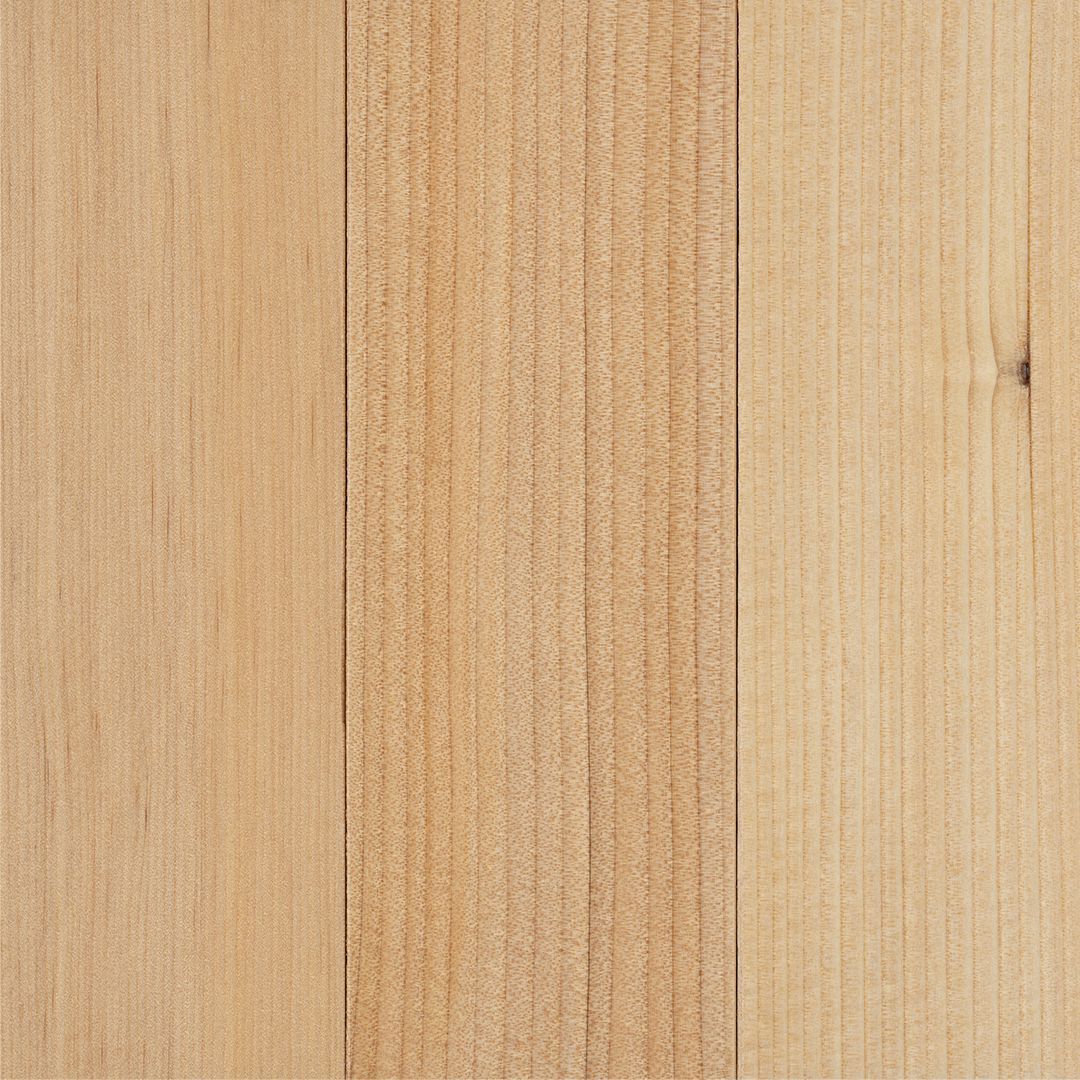
Our Timber Selection
🪵 Canadian hemlock or Western red cedar?
We compare the two most popular wood options for sauna builds. Discover why Western red cedar is goated


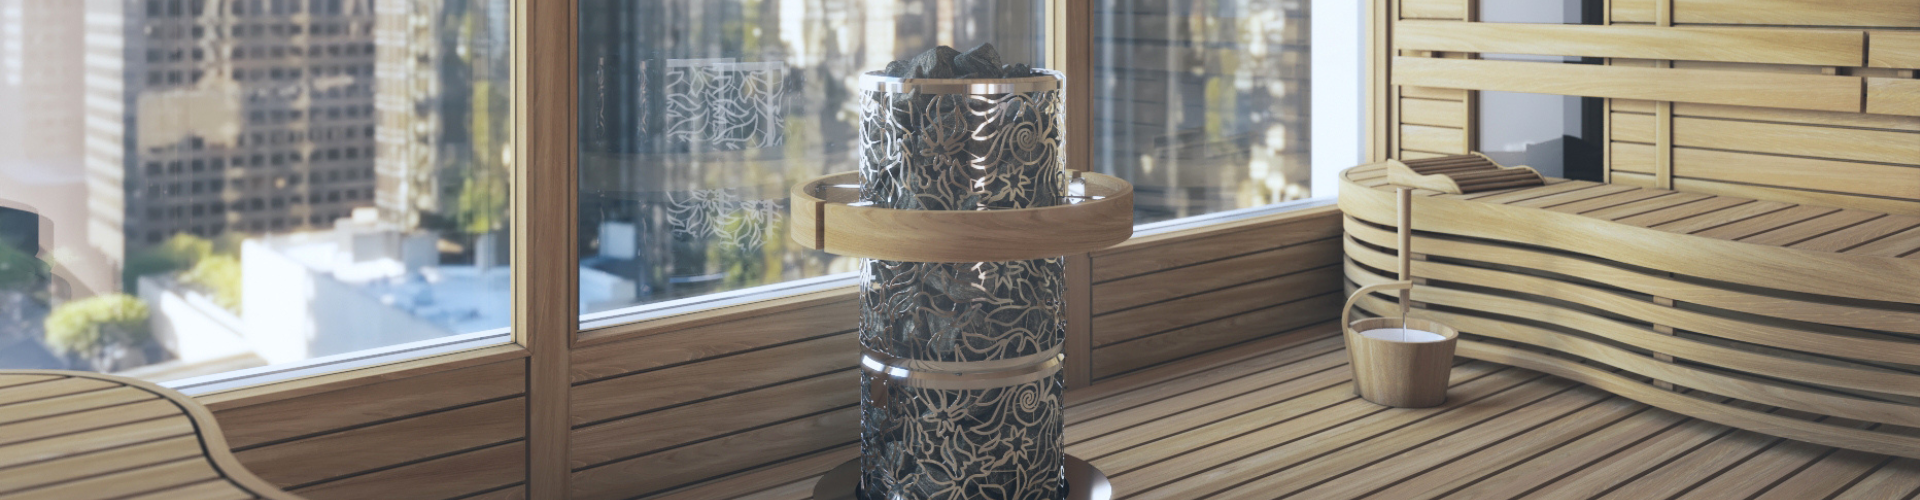
SAWO Heaters are the no. 1 choice
Step-by-Step Guide: How to Build a DIY Home Sauna
Step 1: Plan & Design
- Choose your sauna type & materials: traditional or wood burning.
- Sketch your layout with benches, heater position, air flow, and the door.
- Measure the space in square metres to size the heater correctly. Our expert team will ensure the heater matches your proposed space.
⚠️ Mistake Alert: Many people choose a heater that is too small. The result is weak heat and wasted energy.
Step 2: Prepare the Site
- You’ll need a clean area to work with.
- Confirm electrical work with a licensed electrician and plan the power source.
- Make sure the floor is level and safe for heat and moisture. For internal domestic spaces, 120mm skirting tiling to line the sauna and drainage.
⚠️ Mistake Alert: Forgetting approvals or failing to prepare the base can delay the whole build.
Step 3: Build the Frame & Insulate
- Build a timber stud frame for the sauna walls and ceiling.
- Use sauna-grade insulation that holds dry heat.
- Add a vapour barrier to lock in heat and protect against moisture.
⚠️ Mistake Alert: Standard home insulation traps moisture. This can lead to mould and repairs.
Step 4: Line the Interior Walls & Ceiling
- Fix cedar wood panels with a hidden nail system for a clean look.
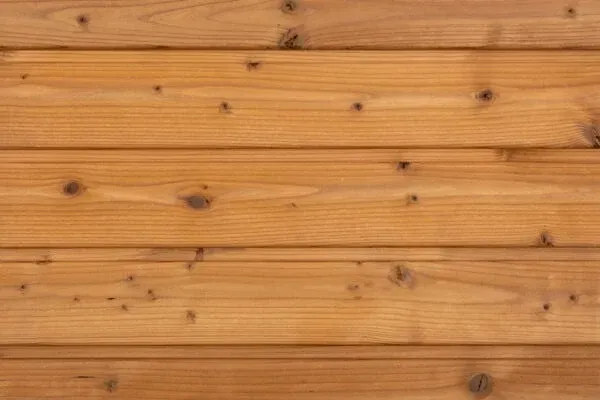
- Use premium grade Western Red Cedar. It is durable, aromatic, and resists moisture.
- Seal corners and edges with trims.
⚠️ Mistake Alert: The wrong timber or exposed nails can cause cracking and shorten the sauna’s life.
Step 5: Add Benches & Sauna Door
- Install a lower bench and an upper bench for comfort.
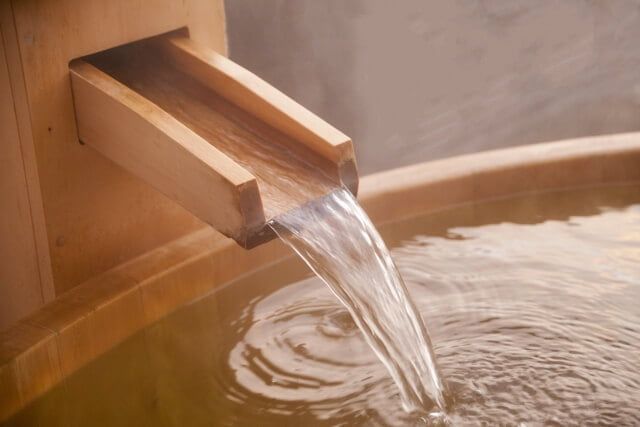
- Fit a proper sauna door made from cedar or glass. These are built for heat and moisture.
- Allow enough bench space for each person using the sauna.
⚠️ Mistake Alert: Generic doors or untreated timber benches can leak heat and become unsafe.
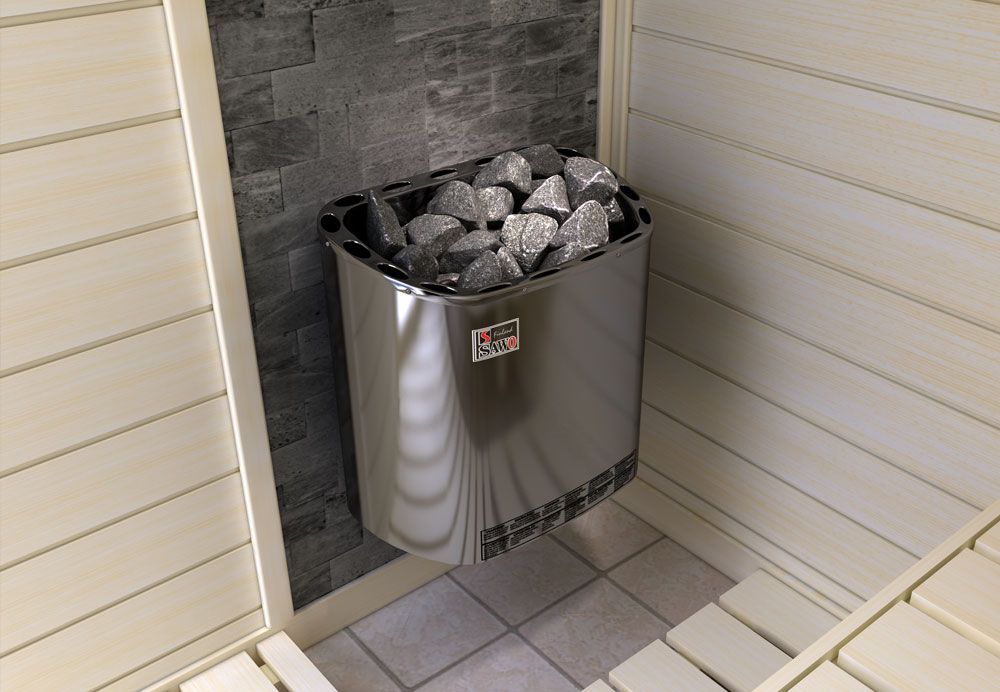
Step 6: Install Heater, Lighting & Ventilation
- Mount a stainless steel heater that matches the size of the room and allows for ventilation.
- Add a sauna lights inside the room (e.g. uppear rear bench, back rest, or lower bench) ensuring with switches are placed outside the room.
- Install a vent to allow safe air flow and circulation.
⚠️ Mistake Alert: Poor ventilation makes the sauna unsafe and uncomfortable.
Step 7: Accessories & Finishing Touches
- Add the essentials: bucket, ladle, hot rocks, timer, and thermometer.
- Install backrests for comfort and longevity of the sauna, help protect the sauna walls and panelling from sweat marks.
- Also invest in extra towels for sauna use.
- Add extras like aroma oils, accent lighting, and custom stains.
⚠️ Mistake Alert: Skipping accessories such as a thermometer or timer risks overheating and poor control.
Step 8: Safety & First Sauna Session
- Ensure all electrical is carried out by a licensed electrician. Correct the power supply to the electrical board and unit.
- Run the heater and test the dry heat.
- Enjoy your first sauna session. Start slow, hydrate well, and finish with cold water for the full Finnish ritual.
⚠️
Mistake Alert: Never do electrical work yourself. Always use a licensed electrician.
Why Choose The Sauna Company?
Happy Sauna Happy Life
Read why our customers are glad they chose The Sauna Company and really value the great design work

"I am so glad made right choice purchased custom made sunset kit from the sauna company. The product quality and design match their name, they are professional sauna builder. Sarah she is very helpful and also they have very good carpenters too. I would highly recommend the sauna company. Thank you for make my life even better in Australia. Absolutely love it"
"We received amazing service from start the finish of our Sauna journey, Alana and Mitch were so helpful with providing advice on installation, sorting out delivery and helping with additional cedar for our roof.
I highly recommend the sauna company for a quality product and great service."
"Great customer service and prompt attention to our queries via calls and emails. Once final purchase sorted, and delivery and installation date agreed the process was so easy. Alana and Mitch could not have been more helpful and informative. Delighted with our new sauna at our new home and excited to make good regular use of it."
"It is hard to find saunas made from cedar in the original Finnish style on the Australian market. 'The Sauna Company' in Melbourne sells these saunas at a reasonable price. Our dealings with Mitch and Sarah were fantastic."
"Excellent experience from start to finish. Great design work and advise early on and the build was seamless and high quality. Coming from Germany and knowing what a good sauna looks like, I really valued the great job."
"An absolutely fantastic customer experience from Brendan at The Sauna Company. Brendan knows his business well, great with people and absolutely reliable and trustworthy. He went above and beyond installing an outdoor sauna for us and managing the whole project from start to finish. Could not recommend him highly enough. A very happy customer!"
Your Sauna, Your Rules.
Build Your Dream Sauna Without Limitations
Think of it like a DIY kit, but without the prefab limits. We can cut your custom sauna to size and supply everything you need.
You’ll have the freedom to design and build the sauna of your style and benefit while knowing you’ve got expert advice on hand at every step.
Our team has the know-how to make sure your project is safe, durable, and rewarding.
Ready to get started?
Frequently Asked Questions
The Sauna Company is Victoria's #1 supplier of traditional Finmnish cedar sauna rooms & accessories
At The Sauna Company, we’re passionate about making wellness accessible and luxurious. Whether you’re after a personal escape or a space to share with family and friends, our range of prefab home cedar sauna kits are easy to install and built to last.
Let’s bring your wellness dream to life.
The Sauna Company's premium indoor and outdoor home sauna kits blend modern convenience with traditional design, offering you unmatched quality at an affordable price.
ℹ️ Need Something More?
Learn more about our custom sauna options. Full end-to-end design & construct service
The Sauna Company was established a number of years ago as the Victorian distributor of the internationally recognised SAWO Finland brand - design leaders in sauna room, steam room, steam shower equipment, and sauna accessories.
Our aim is not only to promote the SAWO brand but also the health, wellness and relaxation benefits associated with sauna and steam room bathing.
With the backing of a national distributor and the support of a premium global
brand with over 25 years of experience behind it, we are well-placed to meet our customers needs.
No job is considered too big or too small, nor is any question considered unimportant.
Feel free to contact us for a no-obligation discussion about your wellness dream.

👋 Ultimate relaxation in your backyard! Discuss traditional ceda home sauna kit install options
The Sauna Company provides end-to-end SAWO sauna/steam room services Victoria-wide:
💬 Comprehensive consultations pre-purchase
🚚 Delivery statewide
✅ All of our sauna rooms are constructed from premium grade materials including circa 70mm thick double insulated wall panels which are lined on both sides with 14mm kiln dried western red cedar boards
🔨 Certified carpenters build our custom saunas
🏠 We utilise colour bond skillion roofs to our outdoor saunas
🔌 Certified electricians handle install wiring
🗑️ All waste + rubbish is cleaned on-site at your convenience
🤝 Ongoing post-purchase maintenance and customer service support
--
😇 Don't hesitate to call us - we're here to help